Making Search Work for You
Deadline’s on the horizon. Nothing seems to be working. You frantically try every variation of keywords you can fathom only to return thousands of dated, irrelevant images. Your patience grows thin as your need for a stiff drink grows stronger. I know exactly what you’re feeling. I used to be a full-time Image Researcher.
The good news is, search tools have come a long way and keywording algorithms have become more intelligent. However, none of us love the search part of the design process and we all want to get it over with as efficiently as possible. Here are a couple tips I’ve honed over the years that will save your sanity and time while searching.
Start Broad, Move Narrow:
Let’s say you need to find images to support a travel story. A piece about women setting out on adventures to find the true meaning of happiness. What’s the tone? What are you trying to communicate? If the story is about finding happiness through solo travel, what are some ideas that need to be highlighted? The magic of starting broad is that even though simple search terms like “adventure” will yield a couple thousand results, they can sometimes inspire other ideas as jumping off points.
Once you’ve started to get a feel for what’s working, delve in with more narrowed keywords. Maybe it’s “solo adventure vista”. Don’t forget to describe your ideal character. Is she a “badass” or maybe a “hipster”? Play around. By starting broad and moving narrow you start to formulate the scene in your head and can then move on to other ways of drilling down to the elusive perfect image.
Suggested Keywords and “Back pocket” Keywords:
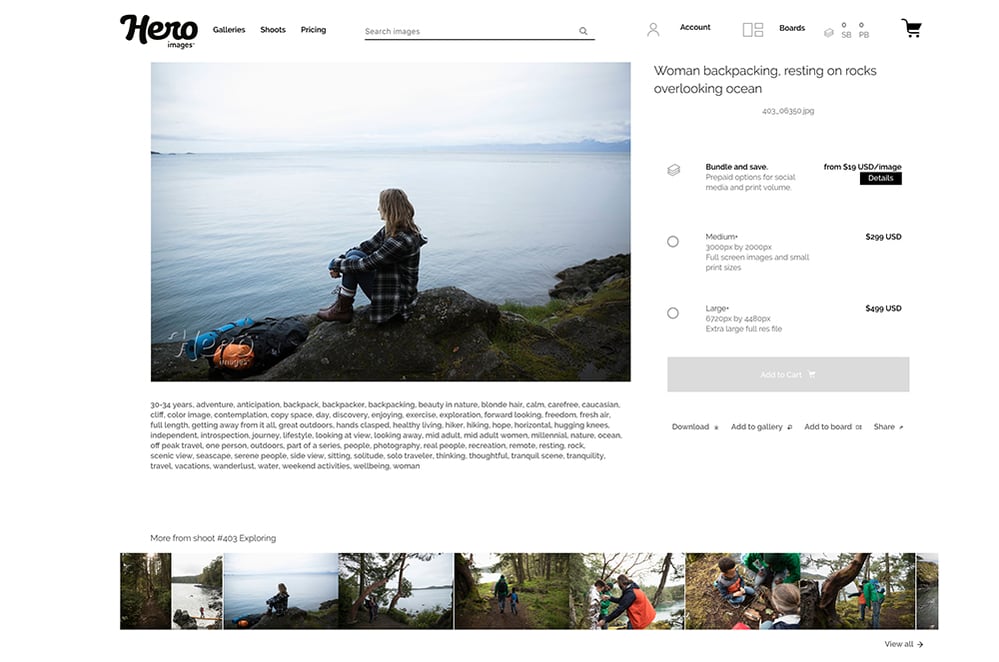
Rather than trying to come up with the perfect descriptor word, try this – on each image detail page, most sites list all the keywords associated with that image. This is great for when you’re searching broad and come across something that catches your eye. It may not be exactly what you want, but clicking on the terms associated with what you do like should get you a step closer.
For example, you find this image. But maybe she’s not the right demographic.
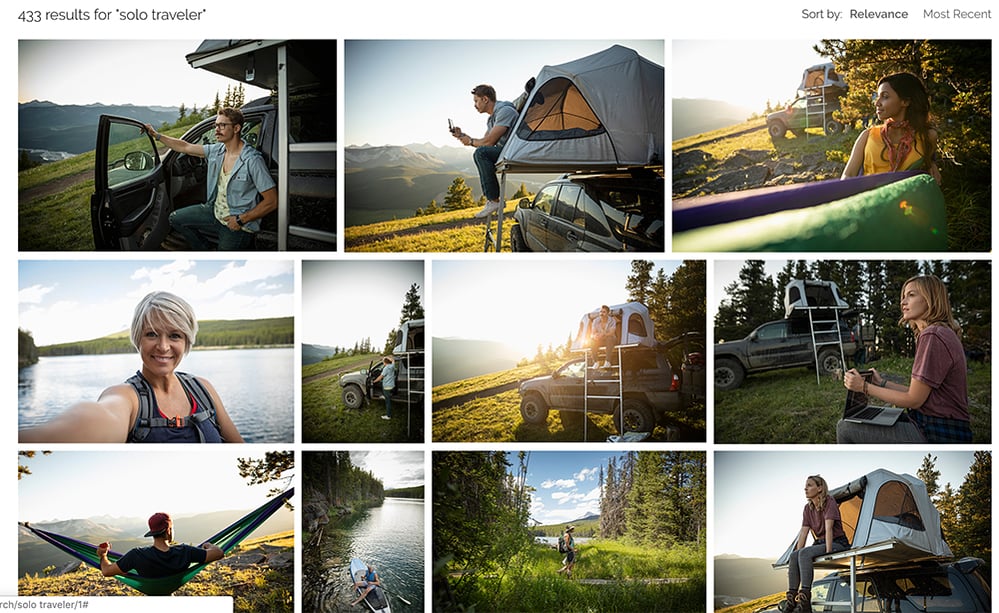
Click the keyword “solo traveler” and you’re presented with a plethora of options!
What are “back pocket keywords”? It’s just a phrase I coined for useful search terms. These include “copy space”, “POV”, “anonymous”, “gesture”, “wide”, “tight”, “closeup”, and “nobody”. In most cases images will have these keywords where applicable. Incredibly useful to get you into the zone of imagery that will work for your design. Save time, baby.
Filters:
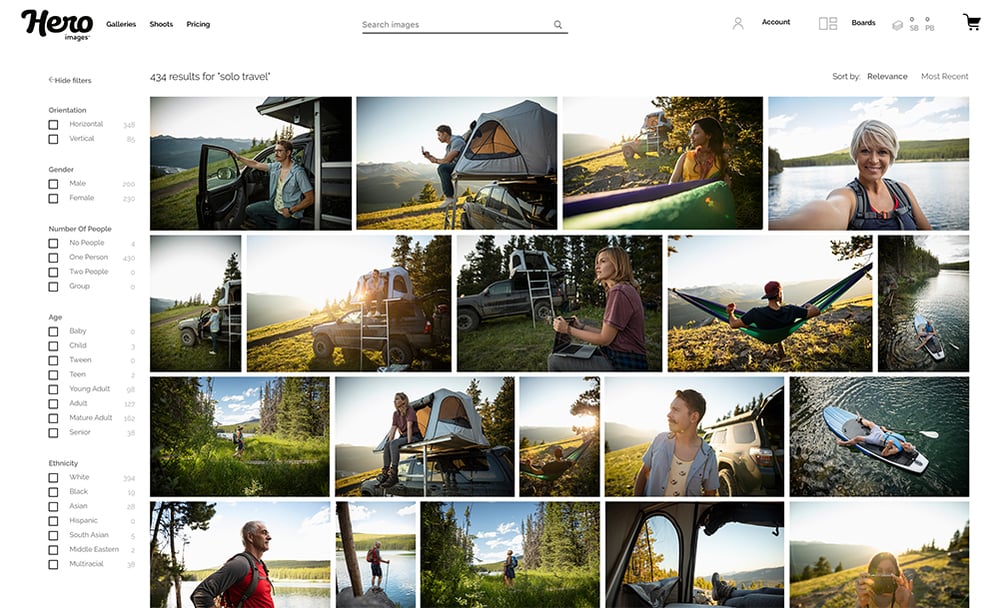
Here’s a hint: USE THEM. Simple “sort by” filters like Relevance and Most Recent can be super helpful. Filtering by Most Recent helps to immediately knock any dated results from your search (So long, everyone unnaturally styled in primary colors). Relevance is handy when your term is more specific like “red sneakers”. Where there’s a “Most Popular” filter I like to peek to see what other people are using and to see similar concepts.
The filters that really turn the dial are generally hidden in a drawer on search results pages and go unused. They’re there for a reason!
On heroimages.com the number of hits associated with each filter option is displayed, making it really easy to scan down the list to find what is working. By using these you can replace some of the main keywords that should be included in your initial search.
Use Boards/Lightboxes:
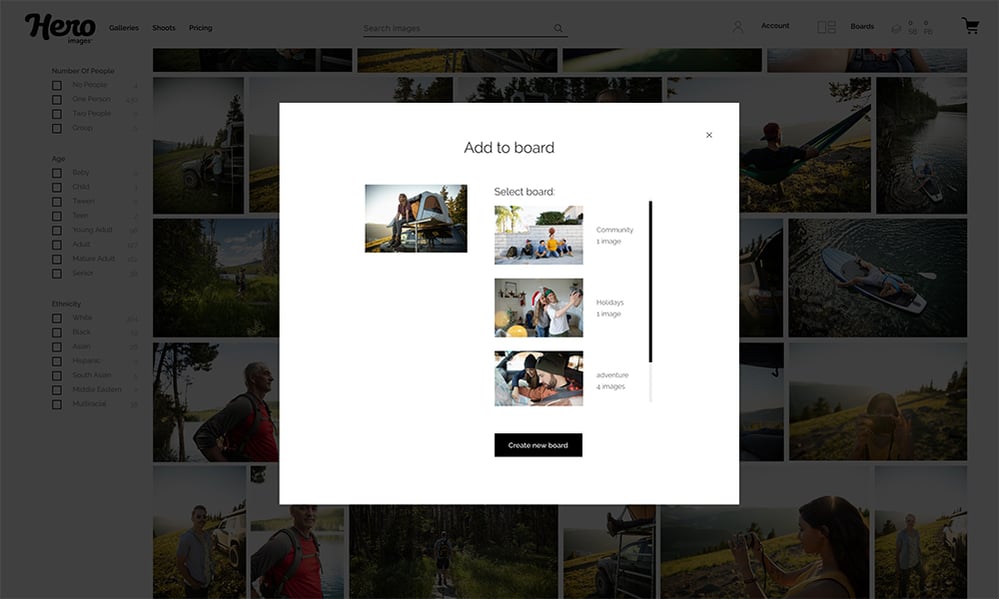
Boards are a godsend when you’re pulling images for a project. Any veteran image buyer probably has dozens on the go at any given time. On most sites you can save your “maybe” images to a board where you can edit later (or better yet, share with a colleague for a second opinion!) From boards you can compare your pulls side by side. Once you pick the right one you can go straight to the cart with the image you want. Boards are a great tool to free up space in your head (and desktop) when you’re trying to visualize the right image.

Command + Click: Unleash the Power of Tabs
When scanning a page of search results you’ll probably spot three or four right off the bat that you’d like to see bigger. Rather than clicking on one and hitting the back button each time, try command+click on all the images you want to see. They’ll all open up in separate tabs, keeping your original search page open in the same spot. You can then click through each tab of image details without losing your spot (or, if you’re feeling especially plugged in, use control+tab to scroll through open tabs). Genius. A millennial taught me that one.
Granted, searching for the right image can be frustrating. But hopefully using some of these tips will help you save some time and make the process bearable and ultimately more productive.
If you have any pro search tips that we didn’t cover we’d love to hear about them in the comments!


